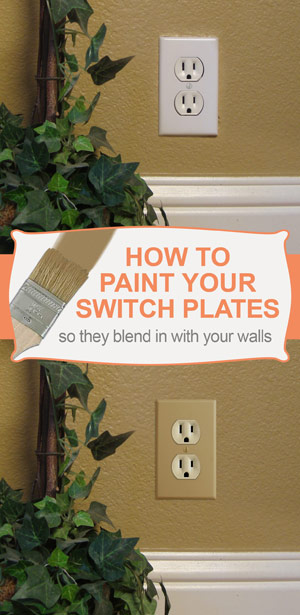
Quickly create professional-looking painted switch plates using the simple step-by-step instructions below. So when you're ready to update your decor, you can easily give your wall switch plates a fresh new look.
Whether you are wanting switch plates to match your wall color, looking to add bold color accents, or are simply searching for an affordable way to freshen up ugly, dingy switchplates, this fun, quick project is a great way to add style and color to your home.
Next: Buying Switch Plates vs. Painting Switch Plates
Should You Buy New Plates or Repaint Current Ones?
Previously painted cover plates may be used as long as they were prepared properly the first time they were painted. Switchplates that have been painted too many times tend to have a thick, lumpy look, so it may be best to buy new ones in this situation.
Note: lightswitch plates that were painted while still on the wall (perhaps because a painter didn't bother to remove them) will never have a clean crisp edge again. Best to start fresh in this situation.
Choosing the Right Switch Plates:
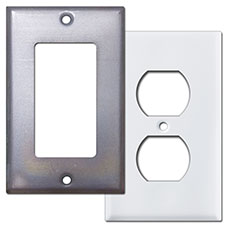
You can use metal, plastic, wood, mirrored glass or ceramic wall plates, however the best adhesion will be to metal.
We recommend starting with our paintable steel plates, although our metal white switch plates work great too. Especially if you need other configurations not available in the steel.
We recommend doing a test first to confirm that your cover/paint/varnish combination is satisfactory and meets the requirements of your project as your results may vary.
Craft Supplies Required for Painting Light Switch Plate Covers
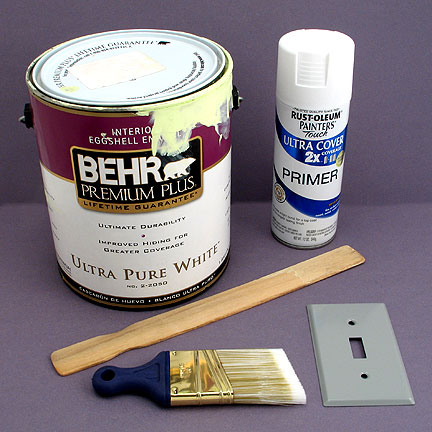
Switch plate
Stir stick
Paintbrush
Paint primer (only if not painting on metal plates - Rustoleum Painter's Touch Ultracover Primer is a great choice).
Wall paint or spray paint in desired color
Clean work surface covered with wax paper or plastic wrap
Tips:
- Clean, Dry Surface - Clean your plates with soap and water and be sure to dry completely.
- Primer - For best results when painting non-metal plates, we recommend using a primer paint, such as Rustoleum Painter's Touch Ultracover Primer, to prep the plates first. If you'll be using a spray-painted color, check the label for directions as a primer may not be necessary on certain plate finishes. If you choose to skip this step, then lightly sand or rough up the surface of your plates to help with the adhesion of the paint. Be sure to clean off all the dust before proceeding. Our paintable raw steel covers don't require primer. We do recommend doing a test first to ensure your particular paint is compatible with the covers you are using.
- Paint Color - Select wall paint or spray paint in desired color. If you paint your switch plates the same color as the walls, then you will have to repaint them every time you repaint your room. Paint color may fade over time, so even if you are painting the walls the same color as before, it is quite likely that the plates still won't match.
- Finish Coat - For a protective finish, use an acrylic clear coat, spray on Varathane such as Flecto Diamond Finish Varathane, or liquid varnish such as waterbased Delta Ceramacoat Gloss Interior Varnish. These will provide a hard surface that will help maintain the finish and allow for easy cleaning as needed.
Instructions for Painting Light Switch Wall Plate Covers
For an elegant finishing touch, easily change the color of light switch plates without replacing them. So in just a few quick steps you can have beautiful new-looking switch plates coordinated to match your wall treatments.
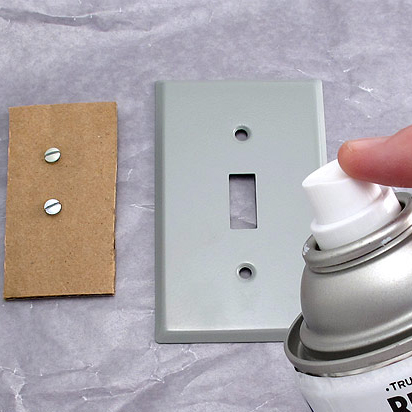
Step 1: Apply Primer*
Remove switchplates from the wall & clean soap and water. Make sure switch plate is clean and free of grease.
Lay on a clean surface such as a piece of cardboard, plastic wrap or wax paper. (Avoid newsprint and paper towels as they tend to stick to the paint.)
If necessary, tape to the surface to prevent rolling or shifting.
* Note, primer is only necessary if you paint plastic, powder-coated, enameled, or other non-metal finishes. If using spray primer, spray in well-ventilated area per instructions and allow to dry.
Don't forget to paint the screws as well. Push screws into a piece of cardboard to hold them upright and protect the threads from being coated with paint.
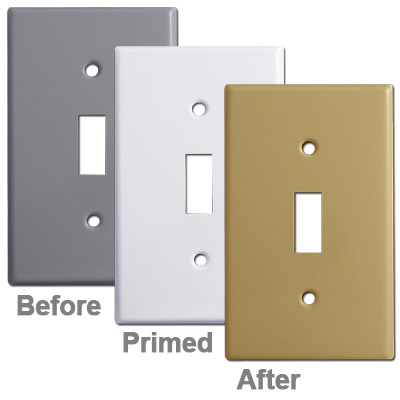
Step 2: Apply Paint
When primed plate is dry, brush or spray paint with new color.
Keep in mind it's best to do several thin coats instead of a single heavy coat.
Make sure paint is thoroughly dry between coats. Local humidity conditions may affect your results as well. Wall paint may take a day to dry. If undercoat isn't completely dry, paint may peel off in the future.
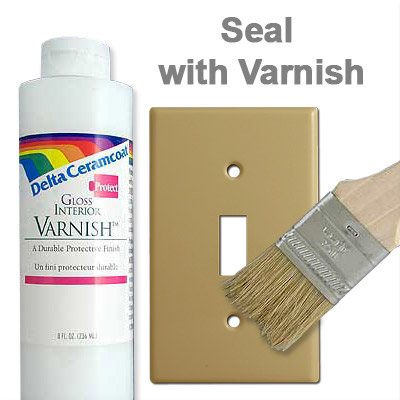
Step 3: Apply Finishing Coat
You'll want to seal your painted wall plates & screws with a clear, durable protective finish such as Varathane or liquid varnish.
Don't skip this step or your hard work will not hold up over time!
Take extra caution when mounting your painted cover plates as you don't want to scratch your new surface with the screwdriver during installation.
Painting Electrical Outlets or Light Switches
The switches and electrical sockets can also be painted to match the plates.
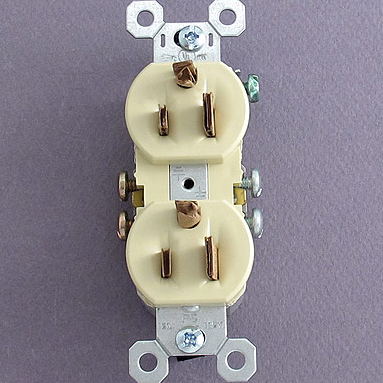
A good time to do this is when the plates are already off the wall. Be sure the power to the devices has been shut off at the circuit panel before attempting to paint them. If painting receptacles, put a small piece of cardboard or folded up paper in each opening to prevent paint from going inside the device. (See photo.) Lightly brush or spritz the device with paint then seal when completely dry.
If you don't want to paint your electrical devices, find a color that is close to your paint and coordinate them. Shop colored electrical devices here.
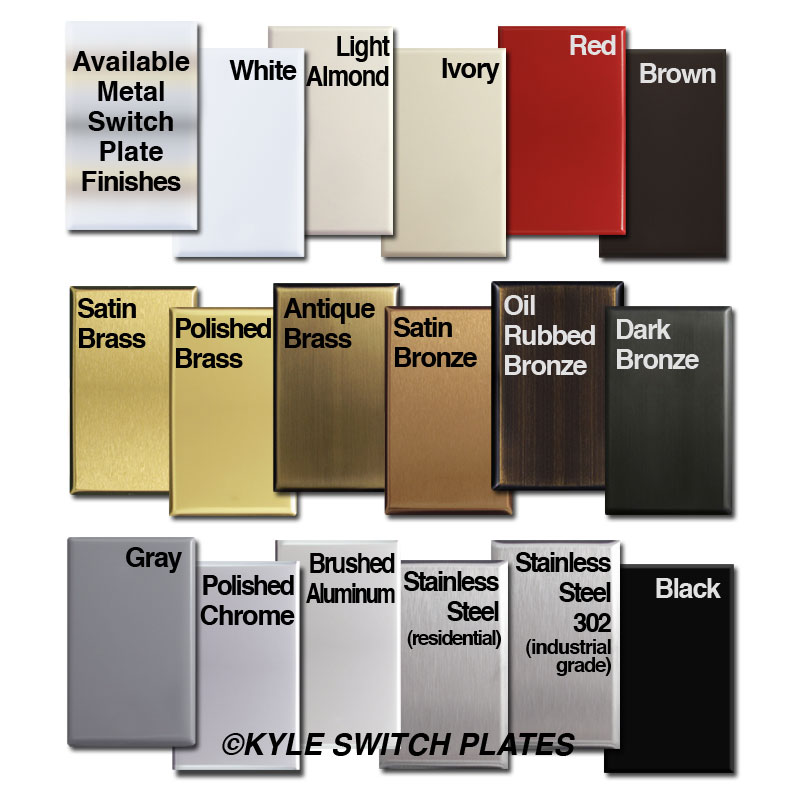
Don't Want to Paint Your Outlets or Switches? Shop for switch plates in 17 different finishes. You're sure to find the color you need to coordinate with your home decor.
These instructions are intended as a general guide only. We recommend testing all your materials including your plates, primers, paints, and varnishes as results will vary. Kyle Switch Plates is not responsible for the results.
Article copyright Kyle Switch Plates 2011. If you enjoyed this article, please do not copy it but instead link to it. Thank you, Kyle

